Align & Position
Snap-dragging
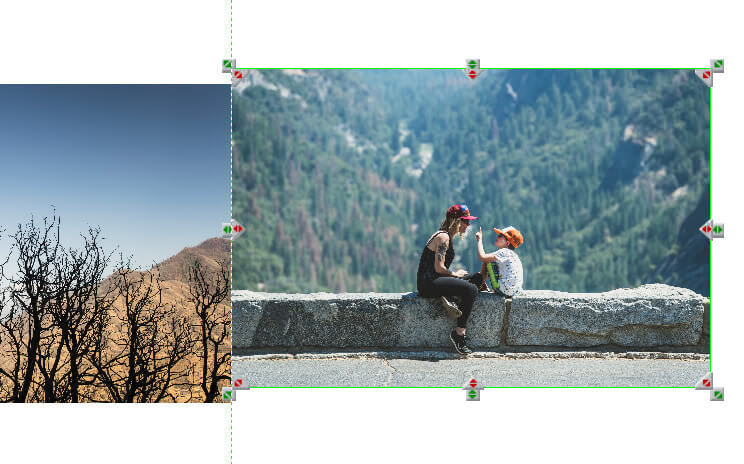
Snap-dragging is a feature that allows any photo dragged within a 2mm range of any other photo, a Guide, the Safe Area or the Print to Edge Area of the page, to automatically 'snap' in to alignment with the object. This means that you get a visually pleasing composition without having to gently nudge every photo in to perfect position. When a photo 'snaps 'in to position with a Guide, the blue Guide will temporarily change to a green line and a blue dotted line to show you that the items are in alignment - see below. This way you can be assured of perfect alignment.
Snap-dragging can be turned on and off in three different ways:
- Go to Edit Menu > Snap-dragging
- Via the Ctrl+\ Keyboard Shortcut
- Via the Snap-dragging button in the Tools Panel
Snap All

Snap All is another auto-alignment tool within the software that allows all objects on a page within a few millimetres of any other object to automatically relatively align edges and give a symmetrical and slick finish to any page. Snap All can be turned on and off in three different ways:
- Go to Layout Menu > Snap All
- Via the Ctrl+T Keyboard Shortcut
- Via the Snap All button in the Tools Panel
Move a Photo
The simplest way to move a photo or a group of photos from one place on a page to another is to select the photos you want to move, then drag them and drop them on to the new position.
- Click and hold down the left mouse button on any one of the selected photos
- Move the mouse until the photo is in the correct (or nearly correct) position
- Release the left mouse button
Position a Photo
To get the photo in to the exact position you want, down to the last millimetre you can use the arrow keys on the keyboard or Momento’s Snap-dragging feature. Use the up, down left and right arrow keys to:
- nudge photos 1 pixel in each direction
- nudge photos 10 pixels at a time in each direction by holding down the hold down the Shift key at the same time
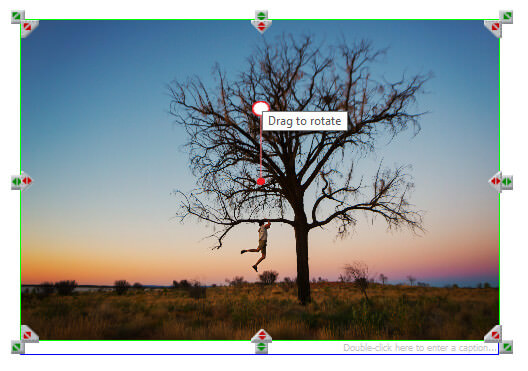
Rotate a Photo
Free Rotate
Sometimes a photo will appear on your page upside down. You can freely rotate the photo by:
- Selecting the photo you want to rotate
- The Rotate Handle will appear as a curved arrow above the photo
- Click and rotate the Handle clockwise or counter-clockwise to your preferred angle
Rotate 90°
There are four ways you can rotate an image by 90° within the software:
- Use the Rotate tools in the Tools Panel
- Right-click on the photo and select Rotate then Rotate 90° from the pop-up menu
- Go to the Layout Menu, select Rotate then Rotate 90°
- Use the Ctrl-] keyboard shortcut
Note: You can also use this process to rotate in any direction, or by 1° rather than 90°
Align to Page
See the Tools Panel for full details.
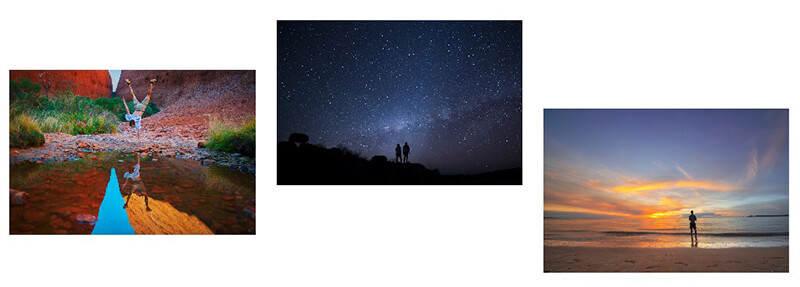
Relative Align
You will sometimes wish to position one photo so that it is perfectly aligned with one of the other nearby photos on the page. For example, the photos below would look more professional if they were aligned so that their top edges were all in line with each other:
To relatively align a group of photos
- Select all the photos that you would like to share a common edge (i.e. three photos in the example above
- Right-click on any one of the selected photos
- select the Relative align sub-menu (or select from the Layout Menu)
- then the Top (or base) option
- The photos will all align on their top (or base) edge
Notes: You must have at least two photos selected to use the Relative Align options

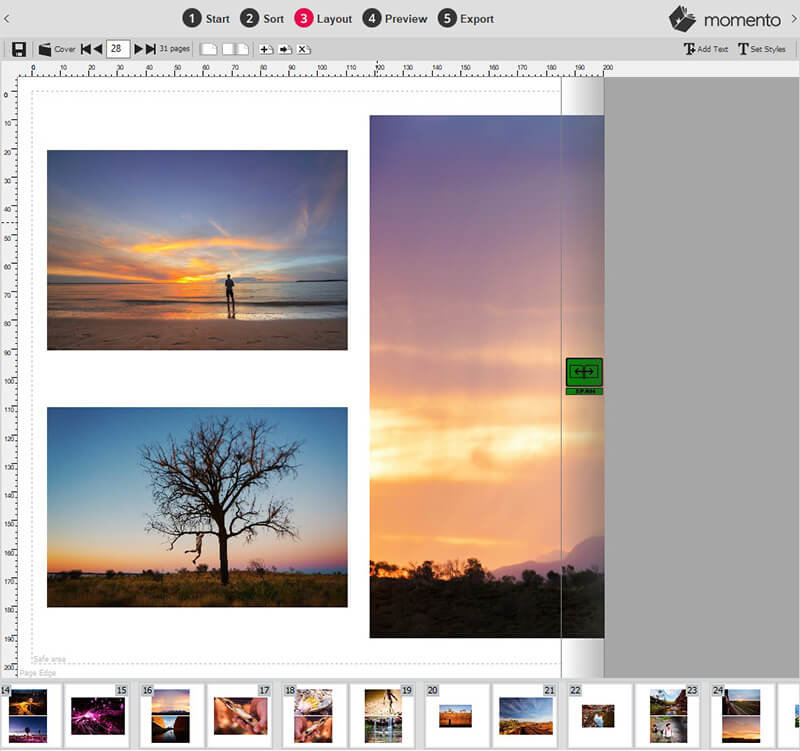
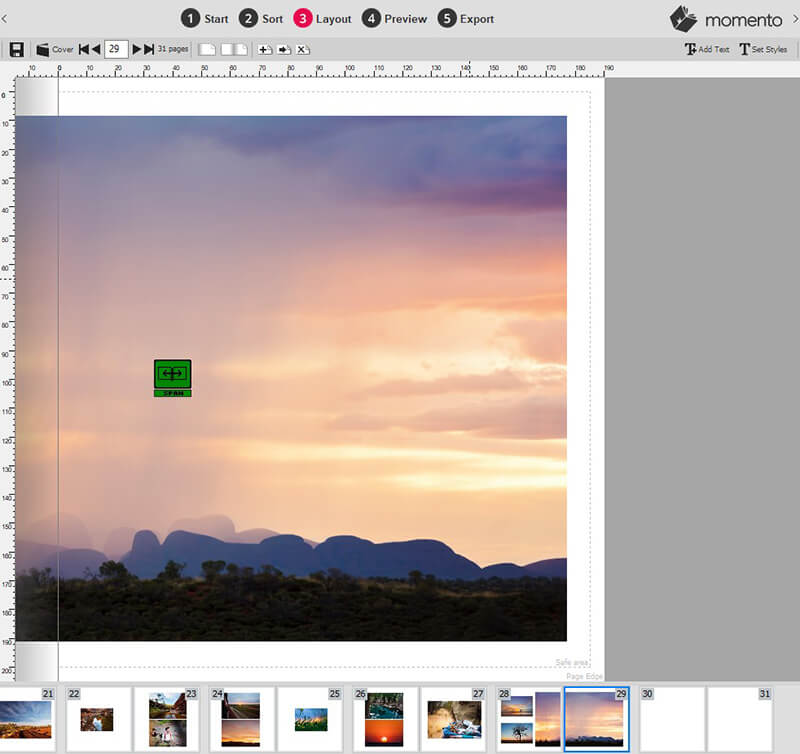
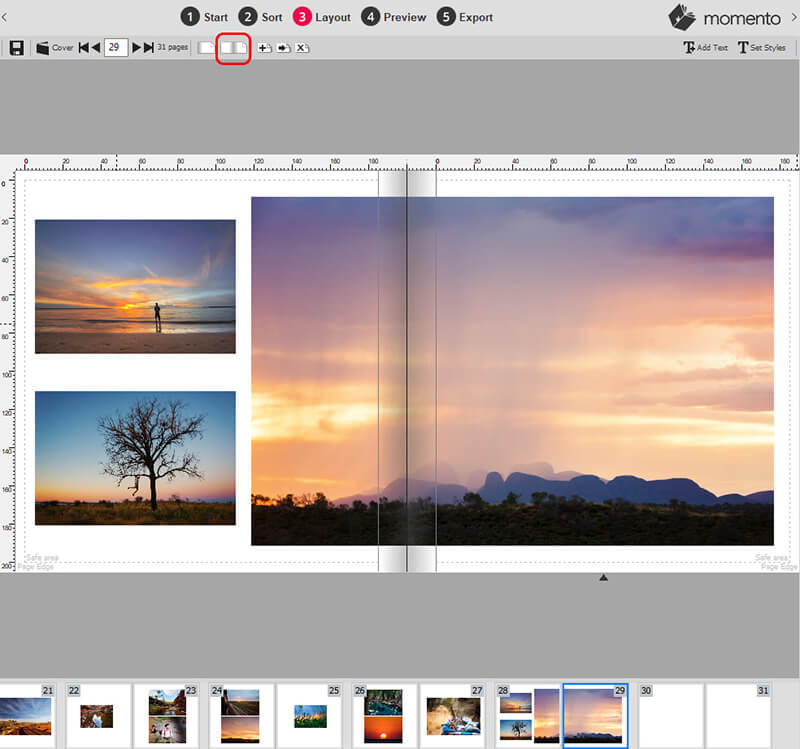
Span a Photo
A spanned photo is one that spreads across two pages, like a double page spread in a magazine. Momento’s software automatically calculates the overlap needed so that when the book is bound, the photo flows perfectly across the pages without replicating or losing any part of the photo. The software also identifies when an action is made to one page of a spanned photo and automatically updates the adjacent page accordingly. The software will automatically ensure that the two pages featuring a spanned photo stay together for printing as a double page spread, on a facing left and right page.
To span a photo
- Select the photo you want to span across two pages
- Click the Span Photo tool in the Tools Panel
- The photo will automatically span across two pages (visible in the Pages Panel)
- A green Span icon will appear in the centre of the photo
- Manually align the photo across two page by editing as you would any other photo
Single Page view
Double Page view
Inserting a photo between spanned photo pages
The software will not allow you to insert a photo between pages with a spanned photo and will present three options:
- Insert 2 pages in order to maintain page spans later in the book
- Insert 1 page and remove any page spans later in the book
- Cancel
Deleting a page in a book with a spanned photo
When you try to delete a page in a book with spanned photos, the software will alert you with three options:
- Delete pages and breaks spans
- Also delete the other page
- Cancel
To remove a span page
- Right-click on the photo
- deselect the Span Photo item from the sub-menu
- the photo will position itself back on to a single page, leaving a blank page opposite.
Image Credits: Heartstory