
Your photos deserve
Australia's best
Photo Books
GET STARTED
We promise world class HD printing, and we care about photo memories as much as you do. You'll see and feel the difference of our award-winning books, and your memories will enjoy a longer life. And we're 100% Australian.
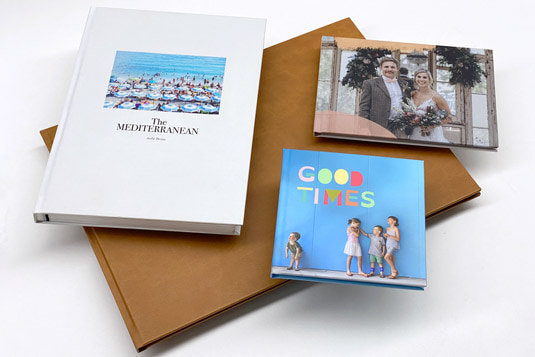
Choose from a variety of sizes and styles to find the perfect fit for your photos. We have books to suit all budgets and tastes, from small and simple to large and luxurious.
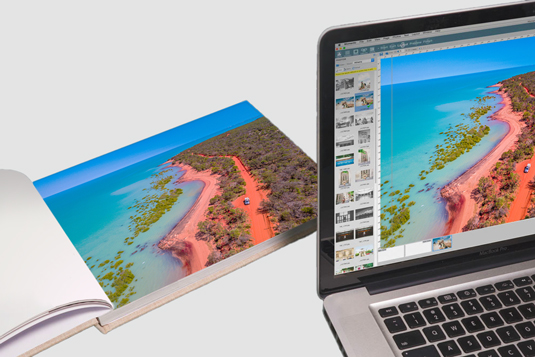
Make your book your own with our easy-to-use software.
You can design your own pages, or let the software do it all for you. Add text to your layouts and choose from a variety of frames, backgrounds and embellishments.
Ordering your book is quick and easy.
Simply upload your completed project, choose your options, and click "order." We'll take care of the rest!
Our range allows you to personalise your photo book to your heart's content. Choose from nine hardcover sizes, perfect for every day projects, or milestone life stories. Regular size is the most popular option, while Grand size offers maximum impact, and Small size is handy for kids' books and brag books to carry around.

| Grand (A3) | Regular (A4) | Small (A5) |
| 420 x 297 mm | 297 x 210 mm | 210 x 148 mm |
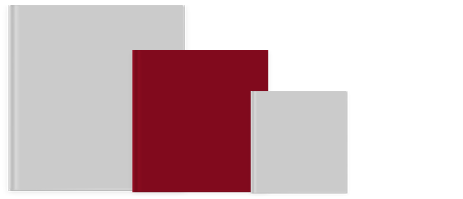
| Grand | Regular | Small |
| 297 x 297 mm | 210 x 210 mm | 148 x 148 mm |

| Grand (A3) | Regular (A4) | Small (A5) |
| 297 x 420 mm | 210 x 297 mm | 148 x 210 mm |
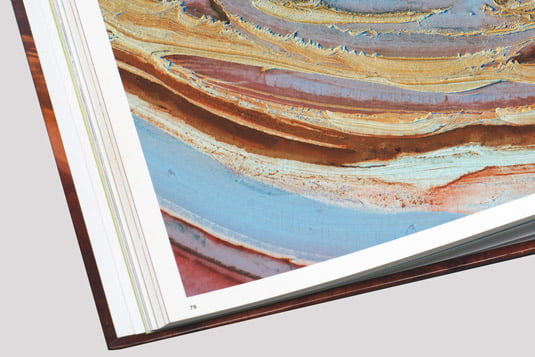
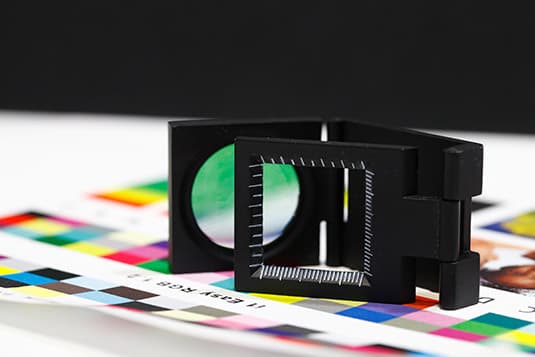
Our 4 high quality photo book papers feel incredible and come with excellent environmental ratings. After our award-winning 6-colour printing, each page is reviewed by our quality assurance team before being sent on for binding. Only the best will do!
To create the best looking books use our gutterproofing tips
Due to supply issues, Lay-flat Lustre is out of stock, but will return in May.
 This is our most popular and versatile paper as it reproduces blacks, whites, colours and images of any quality superbly. While it is our most affordable option this high-end Japanese stock is worthy of any project, especially books with many pages.
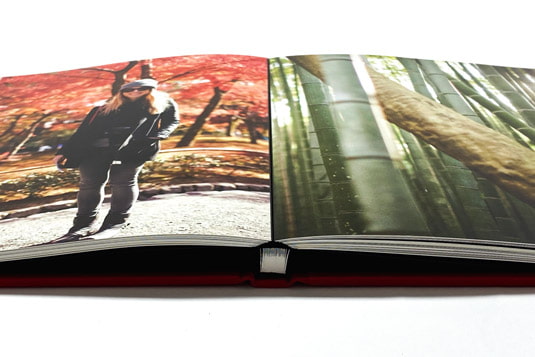
Due to supply issues, Lay-flat Lustre is out of stock, but will return soon.
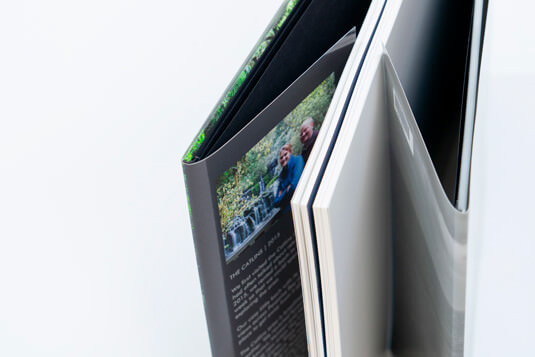
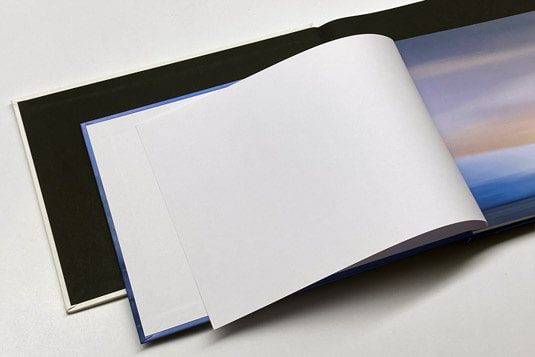
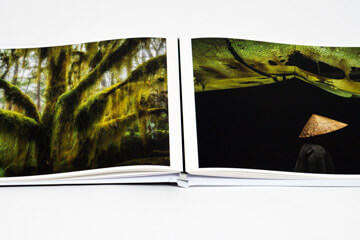
This is our top-shelf paper, and it works well with all kinds of photographs. Its texture is similar to traditional lustre photo paper, and it includes a flexible black-hinge that allows every book page to lay beautifully flat, regardless of where it sits in the book. This makes Lay-flat Lustre perfect for designs where photos span two pages. Be careful to not place important parts of a photo across the gutter, as it may be interrupted by the black hinge.Lay-flat Lustre is not available for Grand Landscape books
 This stock is brilliant for those who want beautifully rich colours and deep blacks, and like the look and feel of traditional photographic paper. Unlike Lay-flat Lustre, Lustre 190 produces a curved rather than flat gutter.
 This matte paper has a soft, artistic feel making it especially suitable for baby books, wedding albums and history books. Like all uncoated matte paper, images appear slightly more muted and desaturated.
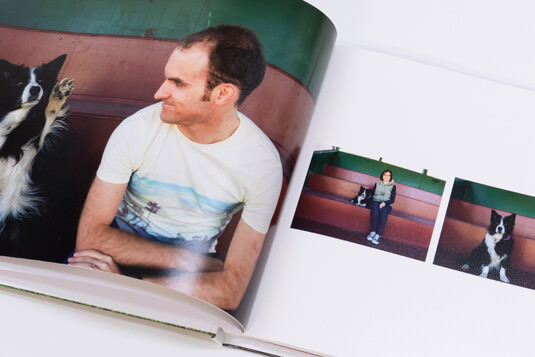
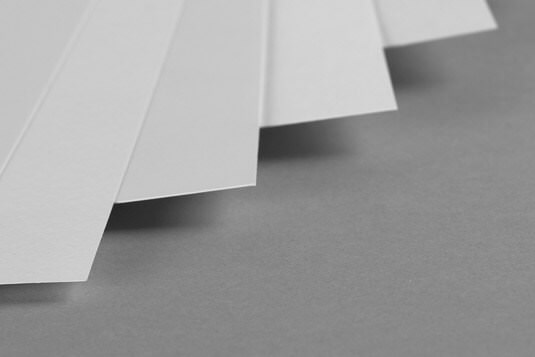
First impressions count, so make your cover memorable. Feature a hero photo on a printed photo cover to grab attention, or select a stylish fabric cover to blend in beautifully with your home decor.
Make your cover selection when placing your order online. If you choose a printed cover for your photo book, you will need to create the design in the software then choose Printed Cover when ordering online.
All our hardcovers use a sturdy 3mm board so they will last for years to come.
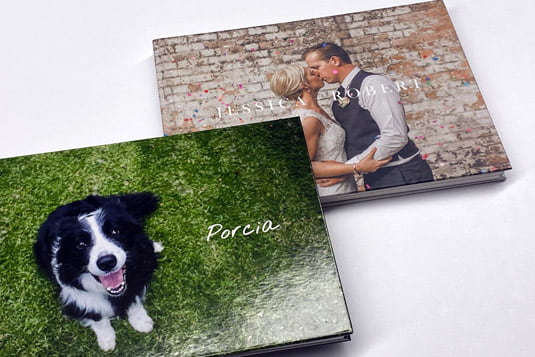 Make a statement by designing a custom cover in Momento’s software, that features your photos on the front and back. Add spine text to easily identify it on the bookshelf, then choose a matte or gloss laminate finish when ordering online.
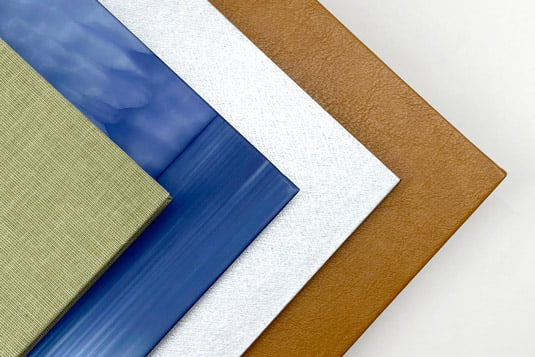
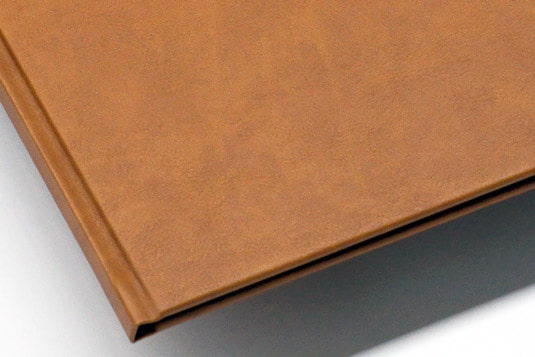 Luxurious leather-like materials that will create an elegant finish for wedding albums and keepsakes celebrating personal milestones or special occasions.
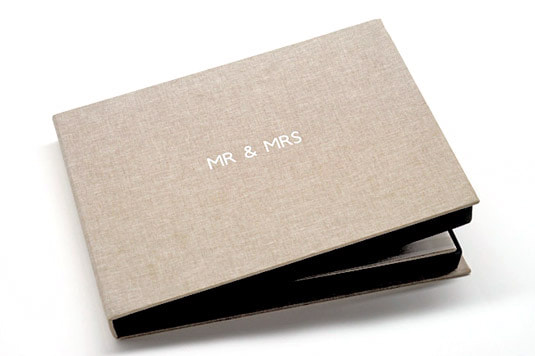
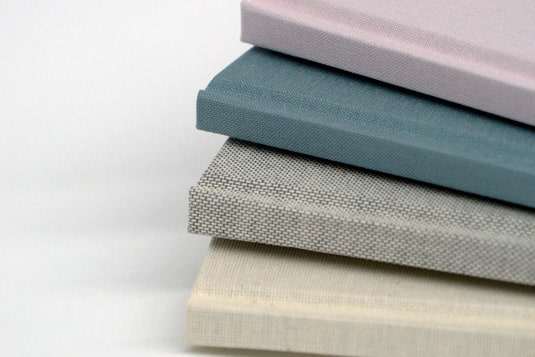 Contemporary linens with a tactile open weave in a range of classic and trending colours. They’ll fit right in with your decor but avoid dark colours for books that will be handled often.
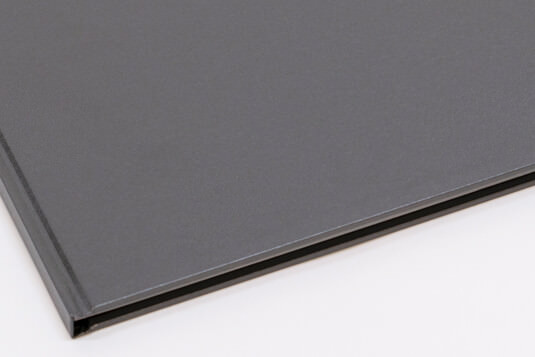 Metallics in versatile colours, and a matte black cover that is extra durable and easy to clean with a damp cloth.
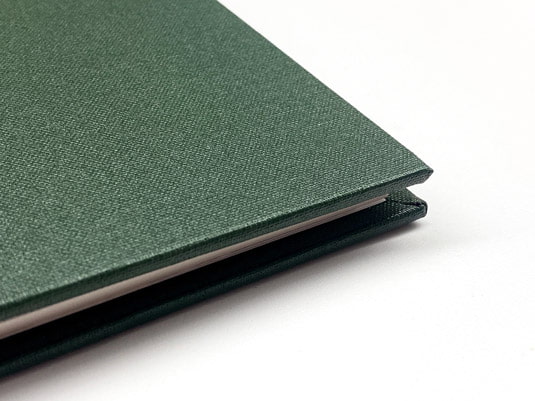 Buckram is a classic option and the material of choice for bookbinders because of its style, strength and durability. It’s also affordable and will complement any project.
Make your photo book your own by customising it with unique options that can be added to the cover or the inside pages. These special touches are designed to create a sophisticated finish and professional aesthetic when your book graces the coffee-table or book shelf. See our tips on choosing the finishing touches.
 For a distinguished introduction to your book or box, add a title to the centre. Think holiday destinations, dates, or the bridal couple's or birthday girl's names. Choose an emboss foil colour that will stand out or reflects the colour scheme of the pages.
| Maximum Letters | Landscape | Portrait | Square |
| Grand Book + Box | 25 | 18 | 18 |
| Regular Book + Box | 18 | 13 | 13 |
| Small Book + Box | 13 | 9 | 9 |
 A wrap around sleeve will make your book look like a professional quality coffee-table book, and offer extra protection. Design it in Momento’s software, then check the Dust Jacket box when ordering online, then opt for either matte or gloss laminate.
 These are the first and last pages that secure the cover to the pages. White is the default end page colour, unless you choose to upgrade to Black. End pages are selected when ordering online.
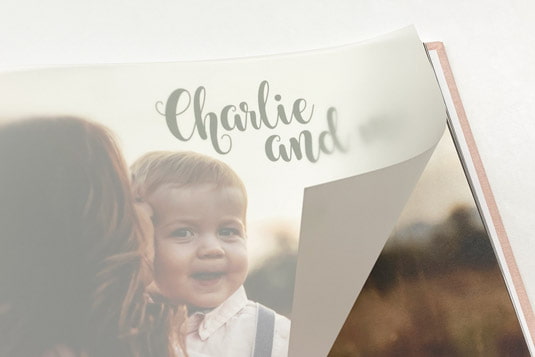
Add a smooth, translucent vellum sheet before the first page to create an introduction with impact in a wedding album, christening book or birthday gift. Not available with Lay-flat pages.
Only available while stock lasts

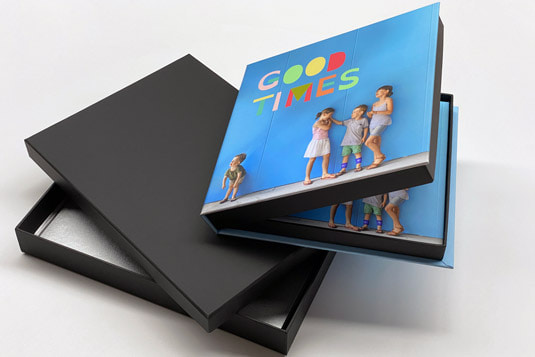
For the ultimate presentation, protect your photo book in a heavyweight box lined with matte black paper. Only available for Regular and Grand size photo books.
 Feature your favourite photo on a printed cover or choose a material that matches your book. The box is hinged at one end for easy opening. Text embossing is available with material covers only.
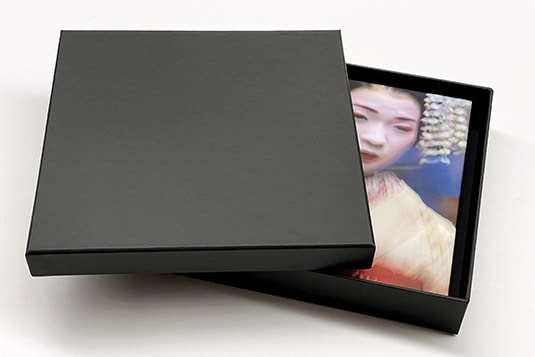
For a more economical option, order a lid-and-base gift box with a stylish matte black finish.
Production time does not include shipping.
| Standard | 14 days |
| Priority | 7 days** |
You can personalise every single detail of your photo book. Step inside our virtual showroom to see the beautiful paper, cover and finish options we've handpicked to suit any project, style or budget.
Momento's desktop software makes it possible for anyone to design photo books with ease and convenience. The automated tools generate quick and stylish page designs, while the manual tools allow to get as creative as you like.
Learn the software's secrets in our step-by-step and video guides. We recommend you also read our tips on gutter-proofing. The gutter is where the two pages meet at the centre. The binding process naturally results in a small part of the image being lost in the seam, so avoid placing any important parts of a photo in this area. Also be aware that, as a book gets thicker the gutter gets deeper, especially in portrait, small, and Regular square format books.

In a nutshell: have a plan; less is more; and choose the size, paper and cover to suit its purpose. View our design guide for top layout tips and to learn how to avoid goofy graphics.
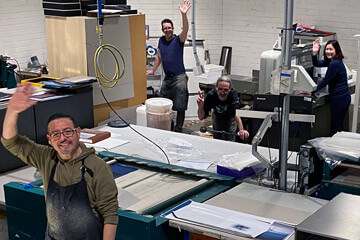
Take a peek behind-the-scenes at our team printing and binding your books with extra TLC and a quality check on every page. We promise accurate colour and premium materials.

Don't let your photos get lost in the digital black hole, print them in a memory book that you and your kids can enjoy forever. Learn how to sort and back photos up to keep them safe.

.jpg)
Photo Credits: The Blonde Nomads, Aishe Besam, The Light Collective, Lynne Woolley, Matt Barber, Ben Adams, Robin Moon, Emma Randall, Bec Stewart, Drew Hopper, Sandra Henri