Annual artbooks for kids
Do you remember your parents proudly collecting and gluing your finger paintings, drawings, craft creations and records of achievement into a big scrapbook? Do you do the same for your children, nieces, nephews or grandkids? This blog post steps you through the process of converting a towering stack of your mini-Picasso’s artwork into a precious annual art book tradition.
Preparing the artwork
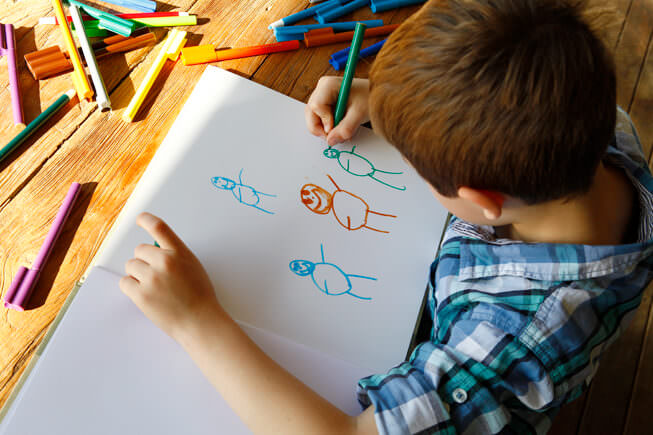
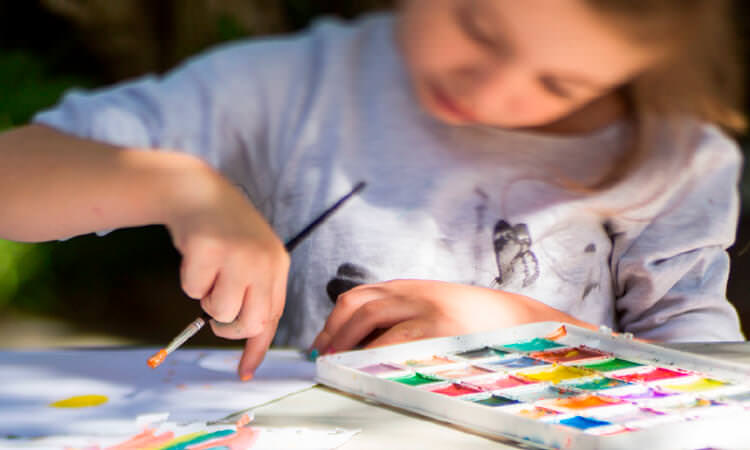
Make it a weekly habit to file your children’s artwork as they create it or bring it home. Write their name and the creation date on the back in pencil, so it doesn’t show through to the other side. Store the artwork in chronological order in a dedicated box or cupboard and place some weight on the top of the stack to flatten the paper, so it’s ready for scanning. When selecting the artwork to include in the book, aim for 25 to 50 images. Remember you only need to show a representation of their art not every piece!
Scanning the artwork
Once you’ve curated your selection, it’s time to digitise the artwork by scanning or photographing the pages. For best results when scanning, use these settings:
- File size: 2000 x 1500 pixels minimum
- Dots per inch: DPI determines how big you can print a scanned image.
- Scan 300 dpi if you plan to print the image at its original size
- Scan at 600 dpi if you plan to print the image at twice its original size
- Scan at 900 dpi if you want to enlarge a photo to fill a whole A4 page
- File format: Save as a JPG or TIFF with a minimum quality setting of 80%
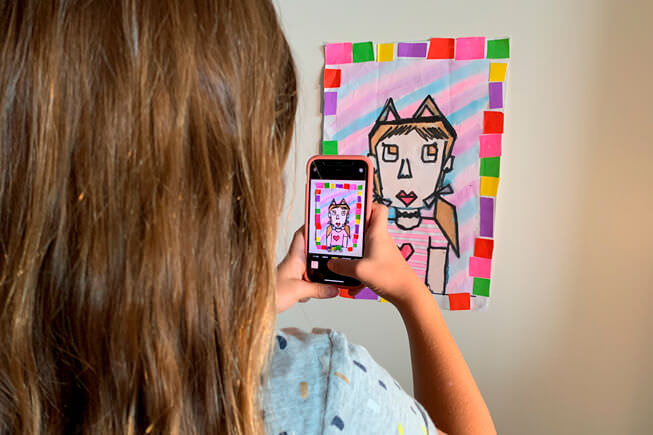
Photographing the artwork
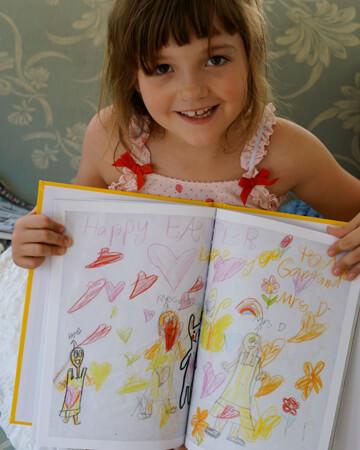
If the artwork is too large to fit on the scanner or it’s a 3D object, simply photograph it. Use a white table or large sheet of paper to keep the background consistent. If you choose to do some basic edits, use the brightness/contrast tool in Photoshop (or similar) to make the background whiter and to fade out paper creases or marks. To tell the full story of your child’s year, it’s fun to also include some photos of them. Copy and paste 25-50 of the best from your digital photo collection into a new folder.
Designing an art book
Now it's time to open Momento’s software and start a book with 50-100 blank pages. If most of the artwork is in landscape orientation create a landscape book. Keep life simple and your design stylish with an average of one artwork or photo on one page, and showcase hero landscape images by spanning it over two pages. Feature their #1 artwork on the front cover and a photo on them on the back, and ensure their name and the year appears on the cover and spine for easy identification. Include some text as captions, paragraphs or headings to give the images more context, but choose a font that complements the artwork, like a handwritten font.
VIP Tip:
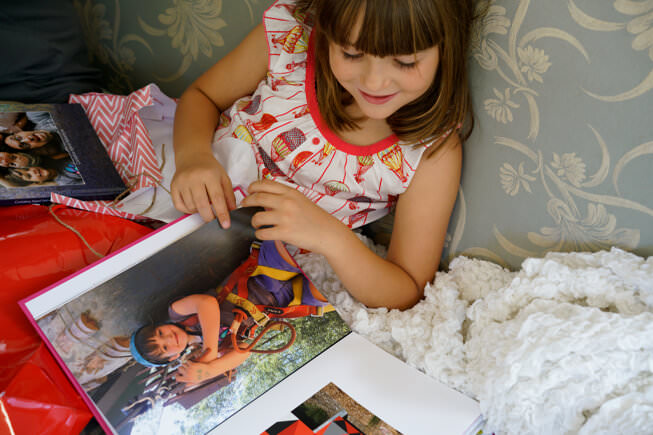
When you’ve finished designing, go to Export View to carefully check and correct every Warning message, then review your Proof PDF thoroughly before uploading. For the perfect presentation, choose Lay-flat Lustre paper for Portrait books, and place them in a matching Printed Clamshell box so they’ll be preserved for decades. Don’t forget to enjoy and capture the moment your child first opens their book and sees all their work printed in a professional looking publication … it’s priceless!
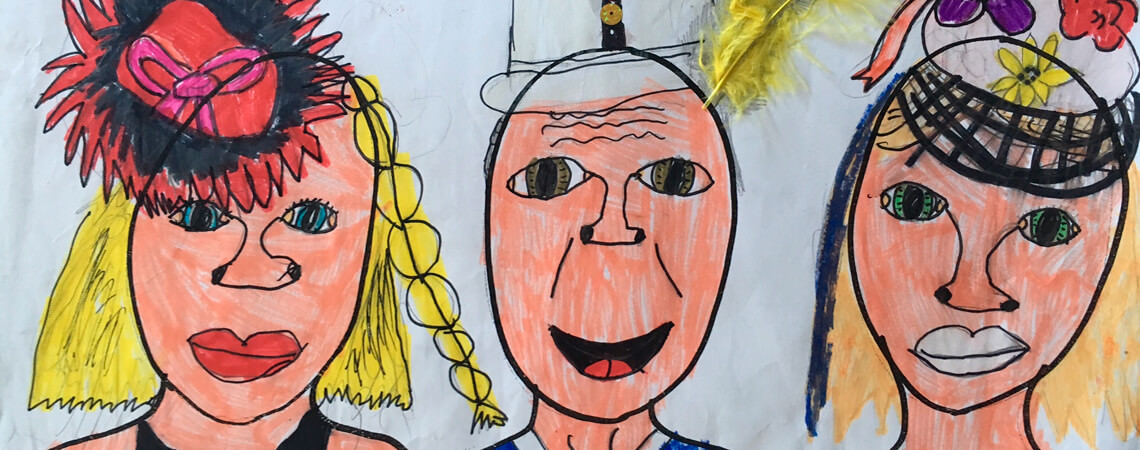
Step through every page of these sensational art books:
Discover more art book inspiration or get started here.