Software Interface
This section is designed to familiarise you with the various elements of the software interface making it easy for you to navigate your way around the software.
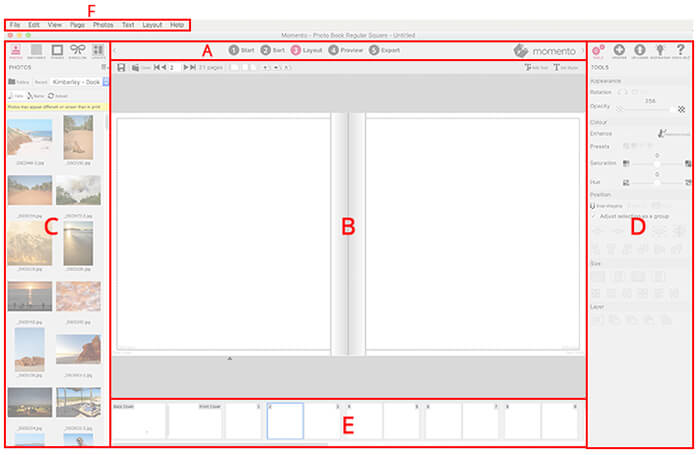
- A. Main Toolbar: guides you through the mains 'views' of project creation
- B. Canvas: the large work area where you create your layouts
- C. Content Panels: five panels of content to add to your projects
- D. Tools Panels: a range of tools to adjust your layouts, download extra content and upload your project
- E. Pages Panel: panel of thumbnails across the base of the screen (Layout View only)
- F. Menus: the program menus that give access to all features
Main Toolbar
There are five different views in the software that guide you step-by-step through the creation process. You can move between the different views by clicking on the icons in the main toolbar.

- Start View: where you start a new project, choose the product, shape, size & layout style
- Sort View: displays content as a list of icons for you to sequence, size, add or delete pages
- Layout View: where you do all the designing of your pages and cover, adding photos, text and embellishments
- Preview: a non-editable full screen preview of your project
- Export View: saves your project to a single Master File (MBF) for uploading, and creates a PROOF.pdf file
The Canvas
The canvas is where you do all your designing. It appears different according to which view you are in. The canvas in Layout View and Cover View is an almost full-screen presentation of your page design and all its contents in graphical form. The canvas in Sort View however presents a list of your content represented as icons. To add any content to your project in Sort View, Layout View or Cover View, simply drag the item from the Contents Panel on to the canvas.
Content Panels
Five panels give you access to content that can be inserted onto the pages of your project.
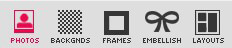
- Photos: all your photos stored on your computer
- Backgrounds: colourful or themed designs to fill the page background
- Frames: a range of borders and corners to enhance your photos
- Layouts: pre-designed page layouts
- Embellishments: hundreds of themed graphics to add to your layouts
Tools Panel
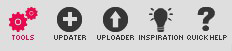
- Tools: tools to change the appearance, colour, position & size of your photos
- Updater: to download additional themed content - page templates, backgrounds, frames, embellishments
- Uploader: to upload your completed project, once exported to a Master File
- Inspiration: filled with news about competitions, new products & design tips
- Quick Help: handy summary of the main tools in each view & Keyboard Shortcuts
For more information please see Tools, Updater and Quick Help.
Pages Panel
This panel shows a thumbnail view of all the pages in your project and allows you to access any page by scrolling horizontally, then clicking on the desired page.
Menus
The standard software menu at the top left of the interface links you to all the functions, screens, tools and settings in the software.
|
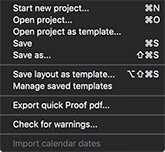
File Menu
|
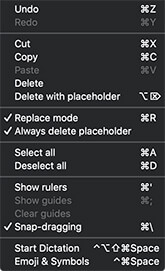
Edit Menu
|
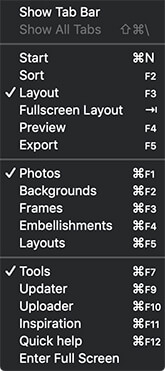
View Menu
|
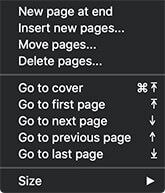
Page Menu
|
|||
|
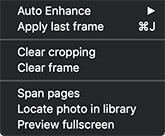
Photo Menu
|
Text Menu
|
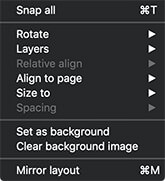
Layout Menu
|