Layer & Swap
Layers
If you want to overlap photos, embellishment or text or place one on top of the other, you will need to use the Layers functionality. Think of layers like a stack of photos one on top of the other. Although it is not immediately obvious, every photo, graphic or text box on a page exists on its own unique Layer. As you move or drag a photo around you will notice that it may obscure a photo. In this case, the photo you drag over the top is on a layer closer to the Front of the page, while the photo being obscuring is behind it, further to the back of the stack or layers of content.
There are two ways to bring an obscured image to the front of a page:
- Send the obscured photo forward to the front layer
- Send the top photo backward to the back layer
To send a photo from the front, to the back:
There are three ways to do this:
- Right-click on the top photo, then from the top menu bar, select Layout, then Layer, then Click on Send to the Back.
- Right-click on the top photo, select Layers, then Send back or select Send to the Back to go all the way to the back.
- Select the Top photo, go to the Tools panel on the right hand side of software, under the heading 'Layers' select appropriate icon.
Note: It is not possible to place a photo behind the Page Background
To send a photo at the back to the front layer:
- Right-click on the bottom photo, then from the top menu bar, select Layout, then Layer, then click on Bring to the Front.
- Right-click on the bottom photo, select Layers then Bring Foward, or select Bring to the Front to go all the way to the top.
- Select the bottom photo, go to the Tools panel on the right hand side of the software, under the heading 'Layers' select appropriate icon.
Note: You may need to use the Send Backward option several times if there are multiple layers between the two photos.
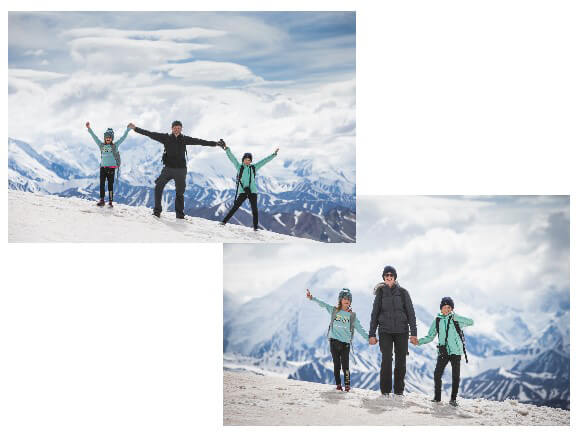
Swap a photo
Drag a photo on top of another photo and the photos will automatically be swapped. A warning message appears to alert you that the photos will be swapped.
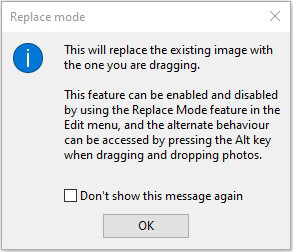
Replace Mode
To stop photos from swapping when they are dragged over each other, go to the Edit Menu and uncheck the Replace Mode checkbox. When Replace Mode is turned off the photos will layer on top of each other rather than replace each other. Tip: You can reverse the effects of Replace Mode by holding down the Alt key on the keyboard while dragging a photo. For example, if Replace Mode is enabled (ticked in the Edit menu) and you wish to move a photo over another without it replacing, then hold down the Alt key while clicking and dragging the photo to its new position. The reverse is also true (if Replace Mode is not enabled, you can get one photo to replace another by holding down the Alt key).
Image Credits: Katherine Williams